 |
| Photo by: Rory M. |
The donut is made of a meshy, spongy material, and comes in multiple sizes and colors. What I like about it is the hair tends to hold better to the material, and it allows bobby pins to be inserted directly into the device, making for better security. If that isn't enough, it also comes in my hair color, which makes it harder to spot.
Here's how it works!
Step 1: Tie hair off in a pony tail at the point where you want your bun.
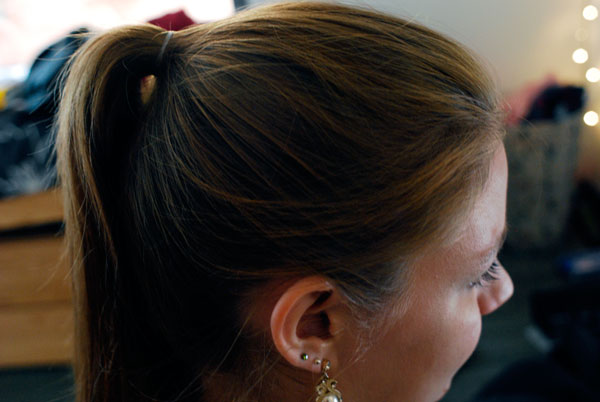 |
| Photo by: Rory M. |
Step 2: Pull the pony through the center of the donut.
 |
| Photo by: Rory M. |
 |
| Photo by: Rory M. |
Step 4: Tuck the ends under the donut. I even tuck them back up in to the center of the donut for maximum hold.
Step 5: Start turning the donut inside out, rolling it down the ponytail until you get to the base. The number of turns depend on the length of your hair. The longer the hair, the more turns.
 |
| Photo by: Rory M. |
Experiment with some accessories (flowers, bows, etc.) to make it your own! There are a bazilion (yes, that many) ways to get creative with a fun bun!
 |
| Photo by: Rory M. |
Be sure to share some of your ideas with us at: anewbeautyblog@gmail.com!
No comments:
Post a Comment